How to DIY a travel-themed shadow box
A step-by-step guide to decorating a shadow box that will display your favorite travel memories.

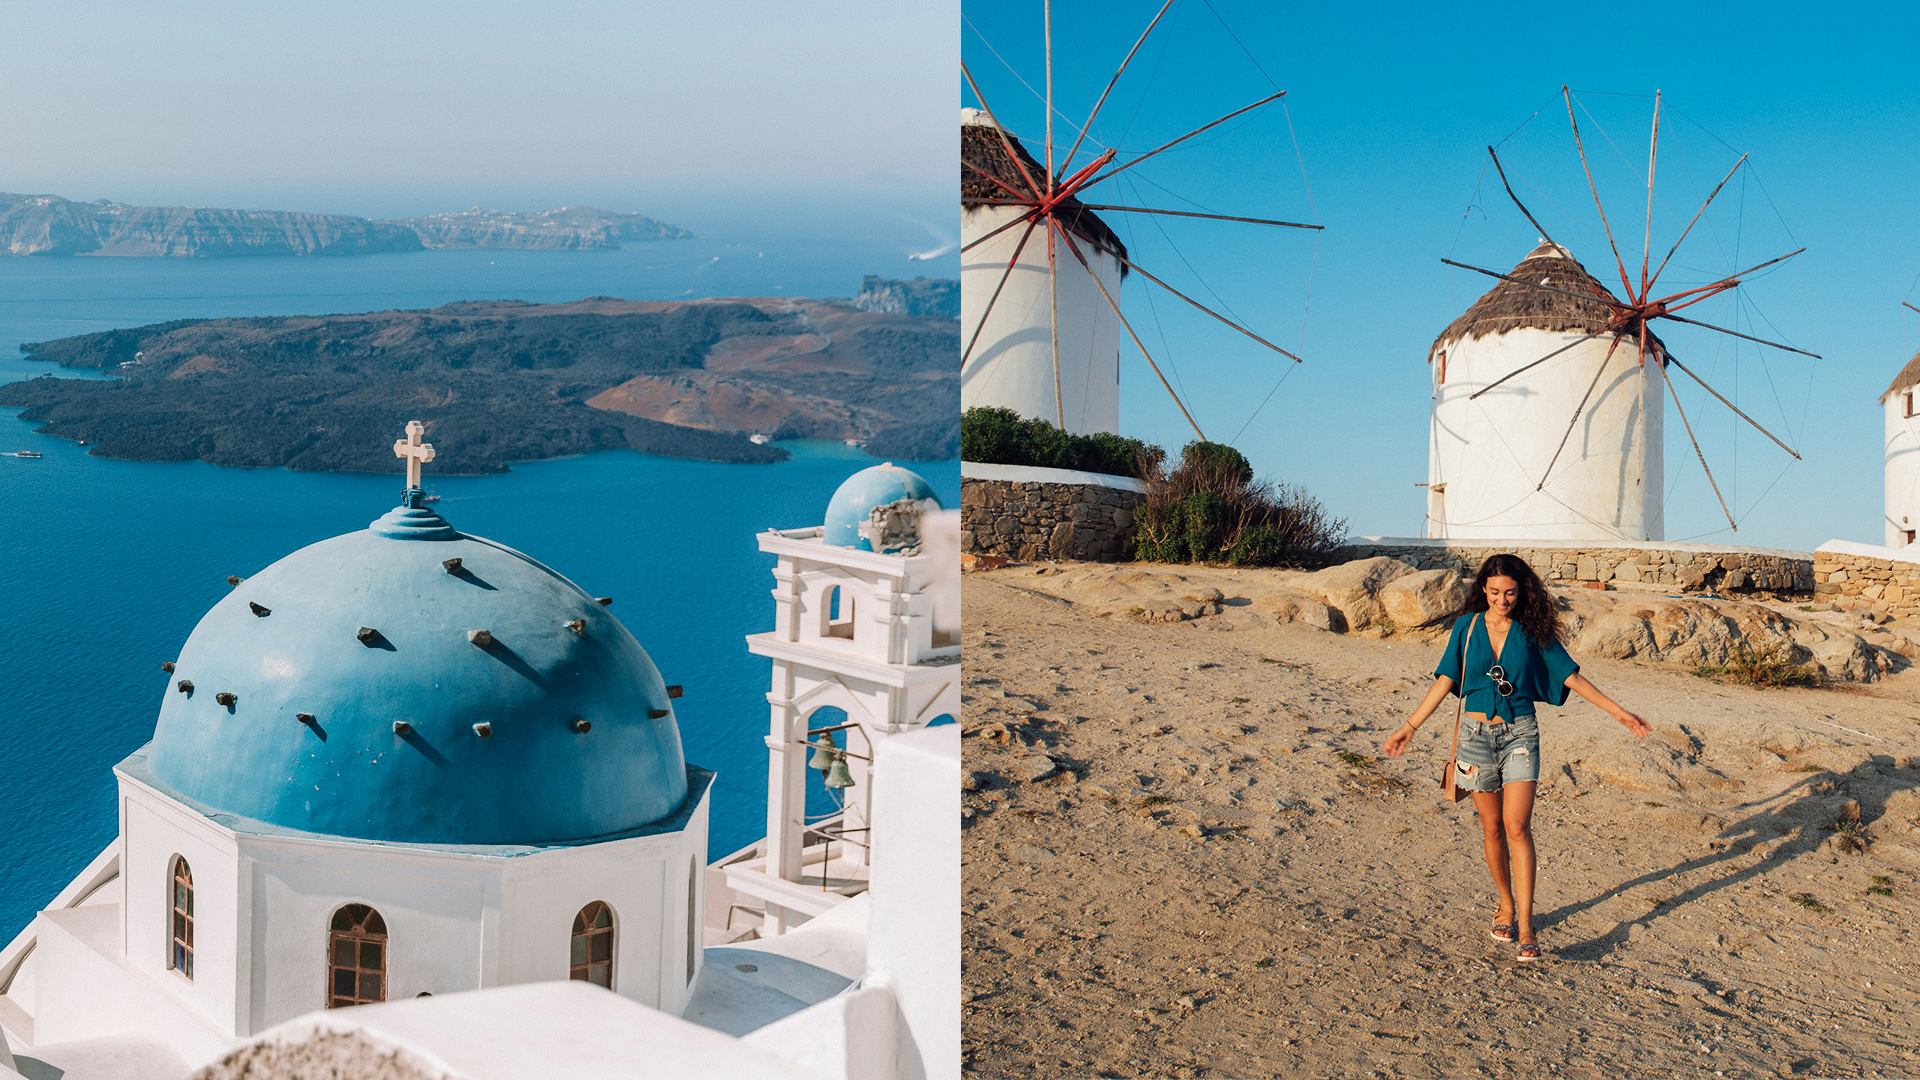
Snapping pictures, saving ticket stubs, writing postcards—it’s all part of your on-tour experience. Once you return home though, you’re often left with a camera full of pictures, a plastic bag full of little tokens from your trip, and no where to put all of it. One great way to display your travel memories is by decorating a shadow box. Read on for inspiration and a step-by-step guide on how to DIY one!
Find inspiration on tour
Collect
Whenever you visit a museum, gallery, or travel attraction, you almost always end up with a ticket, wristband, or maybe even a map. You can think of these as little souvenirs that provide a tangible element to your memories, so be sure to save the pieces from your favorite places to use when decorating your shadow box.
Photograph
Take pictures of people, places, and small details as this will give you a good variety when it comes to selecting the pictures you want to use.
Shop
Buy postcards and little trinkets like a keychain, sticker, or pin. Each of these is a great substitute, especially if photography isn’t your strong suit or you tend to lose tickets in the depths of your pockets. These types of souvenirs are cheap and easily bring back memories of a place.

Head to the craft store
Pick a shadow box
Head to a craft store like Michaels and choose a shadow box that is the right size and color for the space you plan to display it in.
Select some scrapbooking paper
The scrapbooking aisle has hundreds of different kinds of paper so it helps to have a theme in mind before you go to the store. Try looking for a piece that embodies travel, something destination-specific, a pattern that draws your eye, or a color that matches your decor.
Choose finishing details
Pick up any travel stickers, paper flowers, or accent pieces that you think would make nice additions.

Build your box
Step 1: Take your paper, or if you’re feeling extra crafty use a map as your background, and cut it to fit the size of your shadow box.
Step 2: Pick one to two photos or postcards to include in the box. While it can be hard to narrow it down, if every inch of your shadow box is covered, it can look a little cluttered. Try selecting one landscape photo and one photo with people in it to create the perfect balance. Glue these on top of your background.
Step 3: Pick the tickets from your favorite places that you’d like to use. Try having a few layer over the corners of your pictures or fill an open spot on your background. Then, rest any trinkets you have along the bottom.
Step 4: If stickers are your style, place a few in any places you think could use a little extra pop. Put the glass front back on and hang it up!

What’s your favorite way to display your travel photos? Let us know in on Facebook!
Emily loves the simple travel moments—like watching hours pass by in minutes while sharing a meal and a laugh (or many) with her friends and family. Outside the office, you'll find Emily listening to anything and everything John Mayer, attempting to cook a New York Times recipe, or dreaming up her next trip.


)